An experienced photographer offers a primer on how and where to take the best night sky pics in the Blue Ridge.
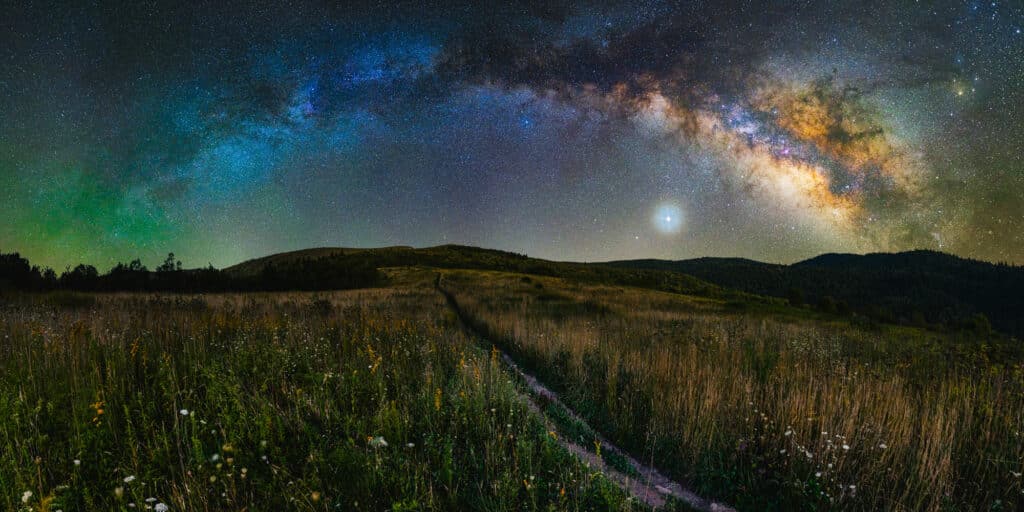
On summer nights when the moon is absent and the weather is clear, I go chasing the Milky Way.
I feel a deep sense of joy and wonder at being able to capture light from unimaginably far away, and it’s so satisfying to slowly coax brilliant color and detail out of what, to the naked eye, looks like a faint gray smudge in the darkness. Whether you’re a seasoned photographer looking to try something new or a novice ready for an inspiring growth challenge, Milky Way photography brings the “wow” factor, and it’s a fantastic way to get a cosmic perspective on the great outdoors.
If you’re interested in learning more, winter is the time to plan, learn the techniques, and make sure you have the right gear.
Here are the basics of Milky Way photography, ignoring advanced imaging techniques. I won’t get into processing, but I’ll leave some tutorial recommendations at the end, as well as recommendations for apps to help plan your adventure.

WHERE AND WHEN TO GO
In our part of the world, the Milky Way core—full of the brightest and most dynamic nebulosity—stays above the horizon for much of the night in summer in the southeastern to southwestern sky. The best conditions for Milky Way photography are moonless nights with clear skies from March to November.
You’ll need to travel far from city lights, to dark areas of the Blue Ridge Mountains like those found along remote stretches of the Blue Ridge Parkway. Check lightpollutionmap.info or the Facebook group BlueRidgeDarkway for location ideas.
I’ll spare stargazers the disappointment by saying that none of the beautiful images you see of the Milky Way, even from dark sky locations, look like that with the naked eye. The naked-eye Milky Way can be quite striking, but the color and detail in these images is a result of long exposure photography.
SHOOTING WITH A CELL PHONE
Some of the most recent and powerful smartphones are capable of shooting the Milky Way, but you will need to use your native camera app’s “pro mode” or search for an app that gives you full manual control of the phone’s camera, like NightCap Camera for iOS or DeepSkyCamera for Android. Use the same exposure time, aperture, and ISO settings as those mentioned below, if possible. The phone needs to remain perfectly still while shooting. You can lean the phone on a rock or other sturdy object, but a tripod with a smartphone attachment is much better. Use the app’s self-timer function at five or 10 seconds, since pressing the shutter button causes movement.
SHOOTING WITH A DSLR OR MIRRORLESS CAMERA
For best results, use a DSLR or mirrorless camera capable of full manual control, a wide-angle lens (12-35mm) with a fast aperture (f/2.8 or lower), a sturdy tripod, and a headlamp.
Set up your gear before full dark so you can find a great foreground. Since you’ll be focusing to near infinity, make sure any foreground objects are decently far from the camera, or they’ll appear noticeably out of focus in the final image.
When the first stars appear, point the camera at the brightest star you see and use the monitor screen on the back of the camera to manually focus on it. Most cameras have some sort of manual focus assistance that digitally zooms in on the object. Set the focus assist to its highest magnification and move the focus ring in and out until the star is at its smallest.
Ideal settings vary based on focal length, but a good start is 15-30 seconds of exposure, your lowest f-stop number for the aperture, and ISO in the 1600-6400 range. Make sure your file mode is set to “RAW.” This is crucial, because you have to process the image yourself, and RAW mode gives you the greatest amount of data and the greatest range of editing capabilities. Set your white balance to “daylight.” Turn off “long exposure noise reduction” in your camera settings, and switch off any image stabilization, since this setting can actually hurt sharpness when you’re using a tripod. Use a 10-second self timer or a remote shutter. Make sure you take a test shot and review it closely to make sure your settings and focus are producing pinpoint stars without obvious trails.
You can take one photo and call it a night, but I recommend taking many of the same photo in case planes, satellites, or passing cars get in the way. It’s easy to miss these things in the field.
Don’t be discouraged if your first few shots are duds. Keep shooting and enjoy the chase.
Top Software, Apps, and Websites
As the name suggests, this site shows a map of light pollution. Use it to plan your trip.
Here you can find a page that shows any closures on the Blue Ridge Parkway.
High-quality forecasts and satellite imagery of the area you’re considering.
Clear Outside app
Shows the windows of time when weather and moon conditions will be favorable.
PhotoPills app
Planning and visualization tools, sun and moon information, calculator for optimal exposure length based on focal length and camera sensor.
Stellarium app
Sky map to better visualize how the sky will look at night.
AllTrails app
For wayfinding if you’re hiking to your shooting spot.
There are tons of great tutorials for picking locations, shooting, and processing, as well as gear comparisons and recommendations. Alyn Wallace, Nightscape Images, Milky Way Mike, and Lonely Speck are just a few good channels.
For information about dark sky parks and how to get involved in protecting our dark skies.
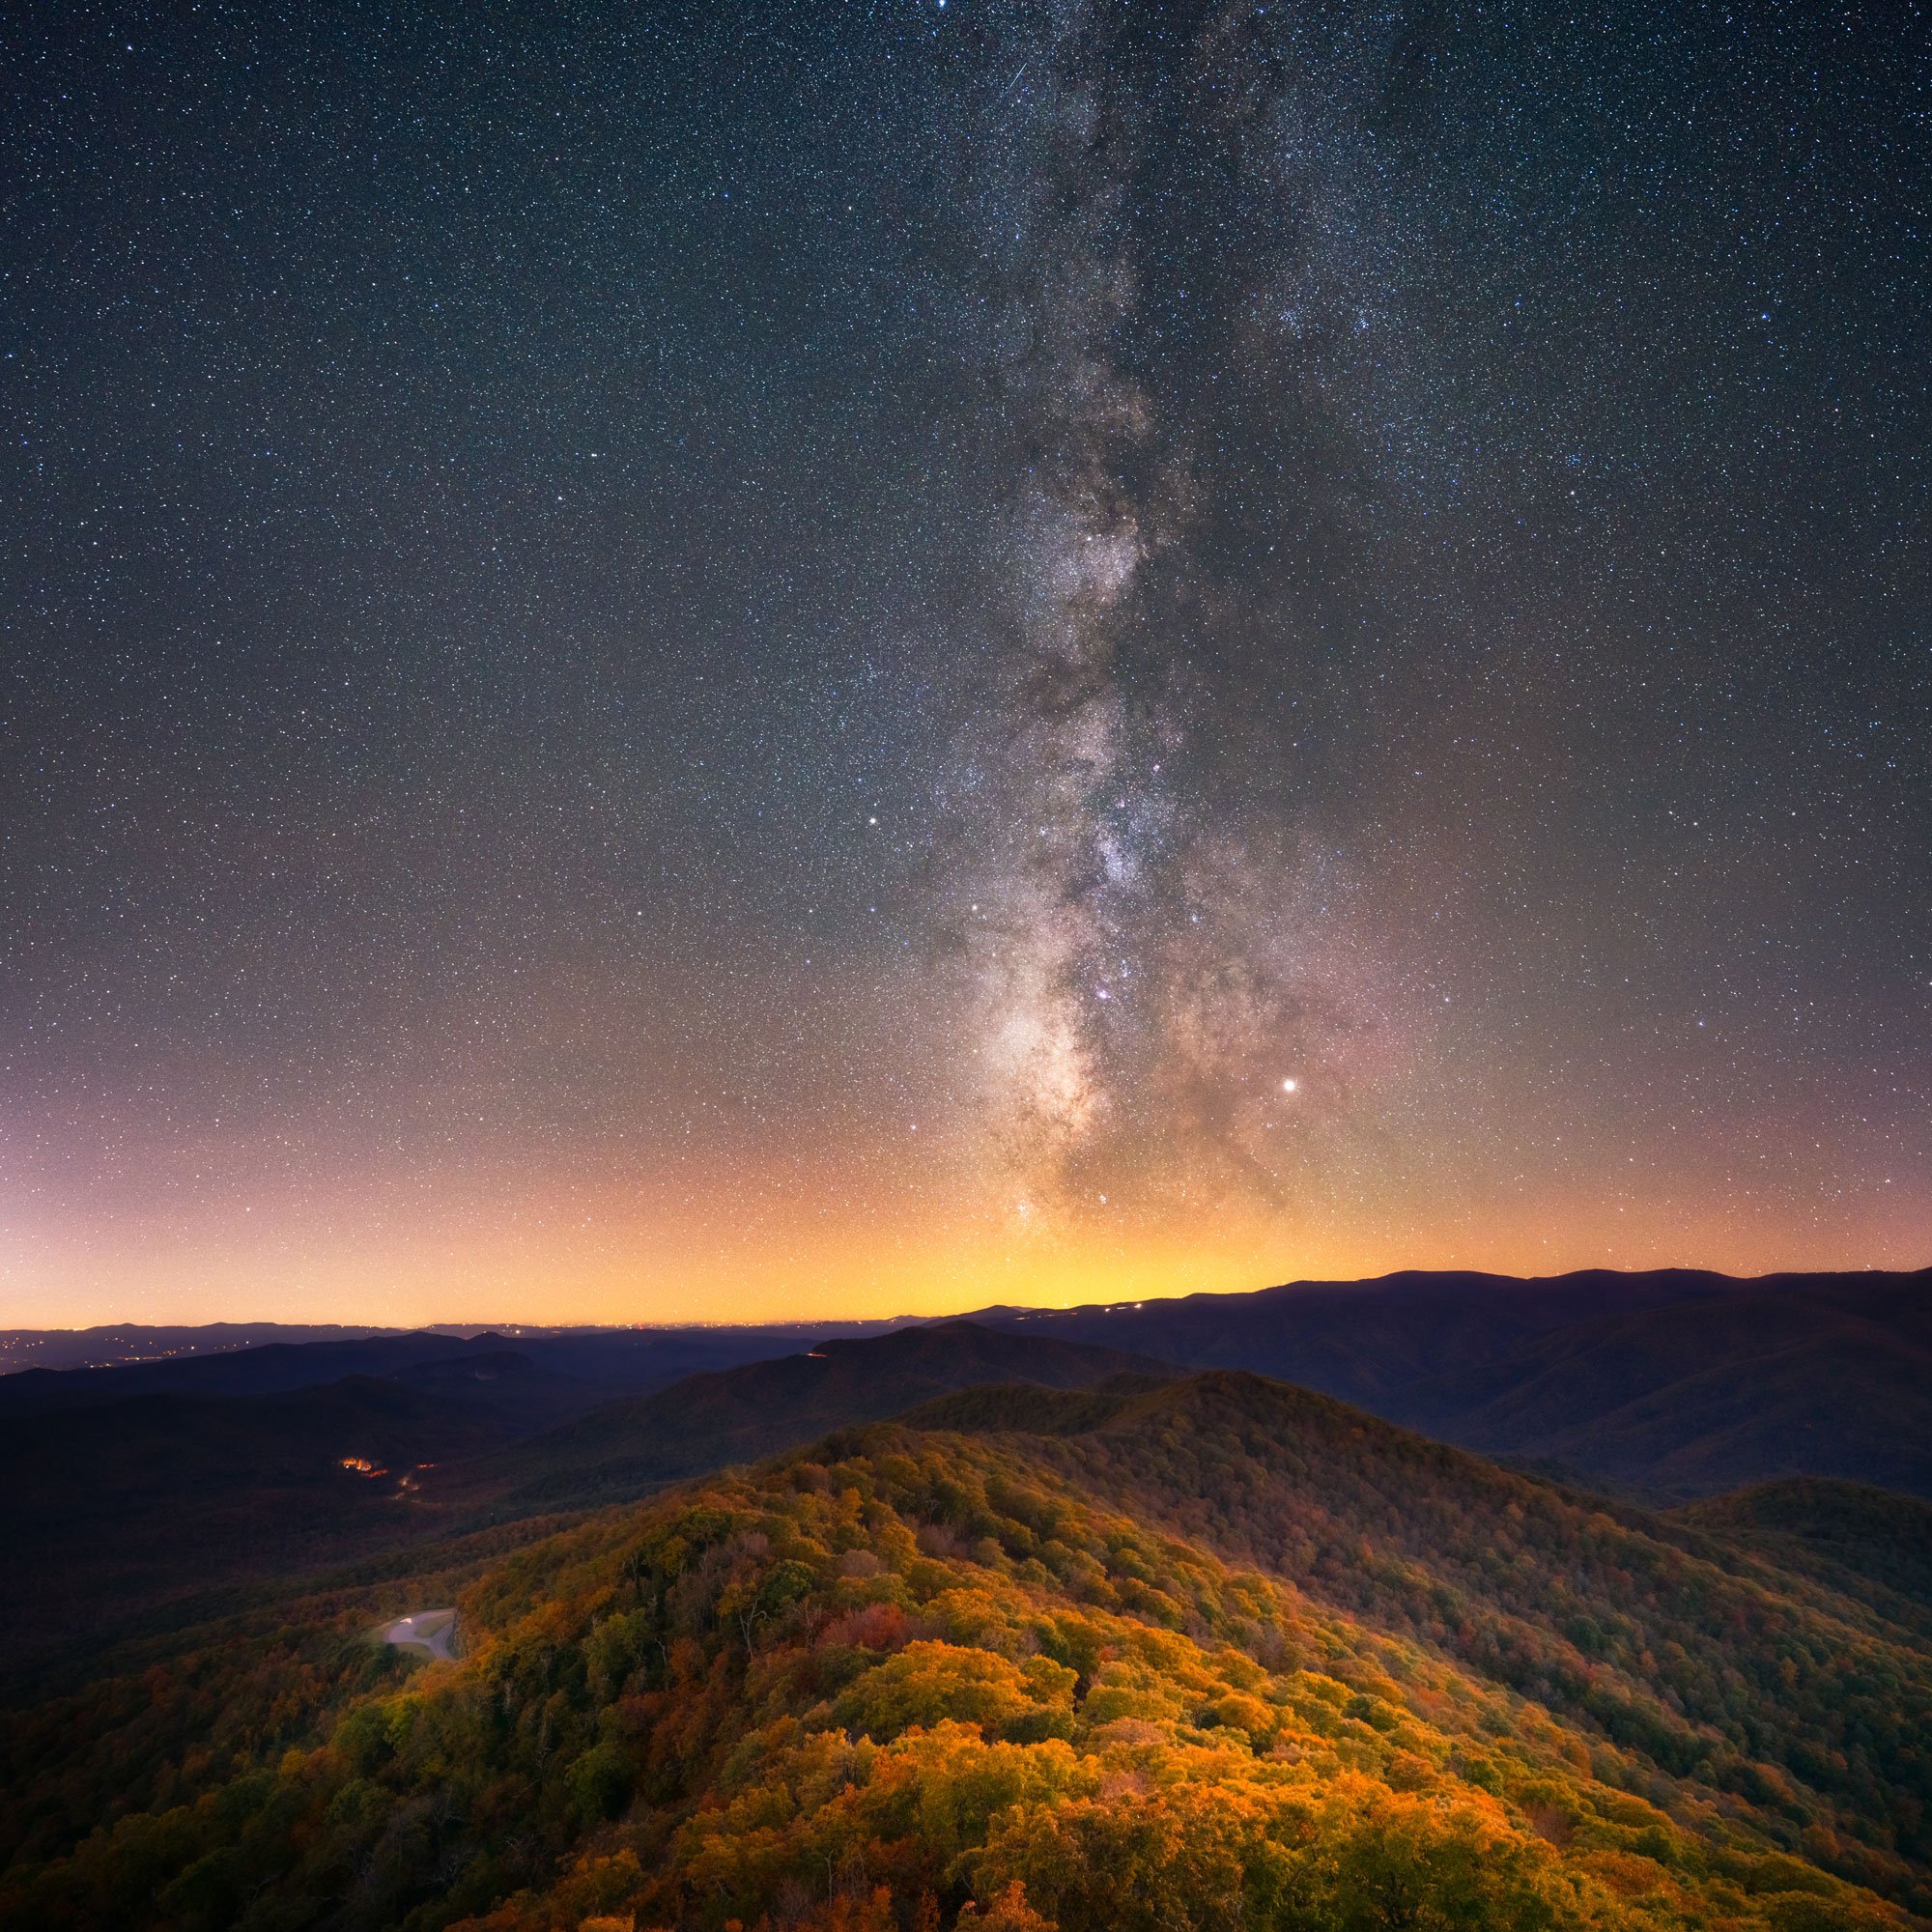
Cover photo: The Milky Way core rises over fall foliage off the Blue Ridge Parkway near Asheville, North Carolina. Photo by Tim Reaves.


